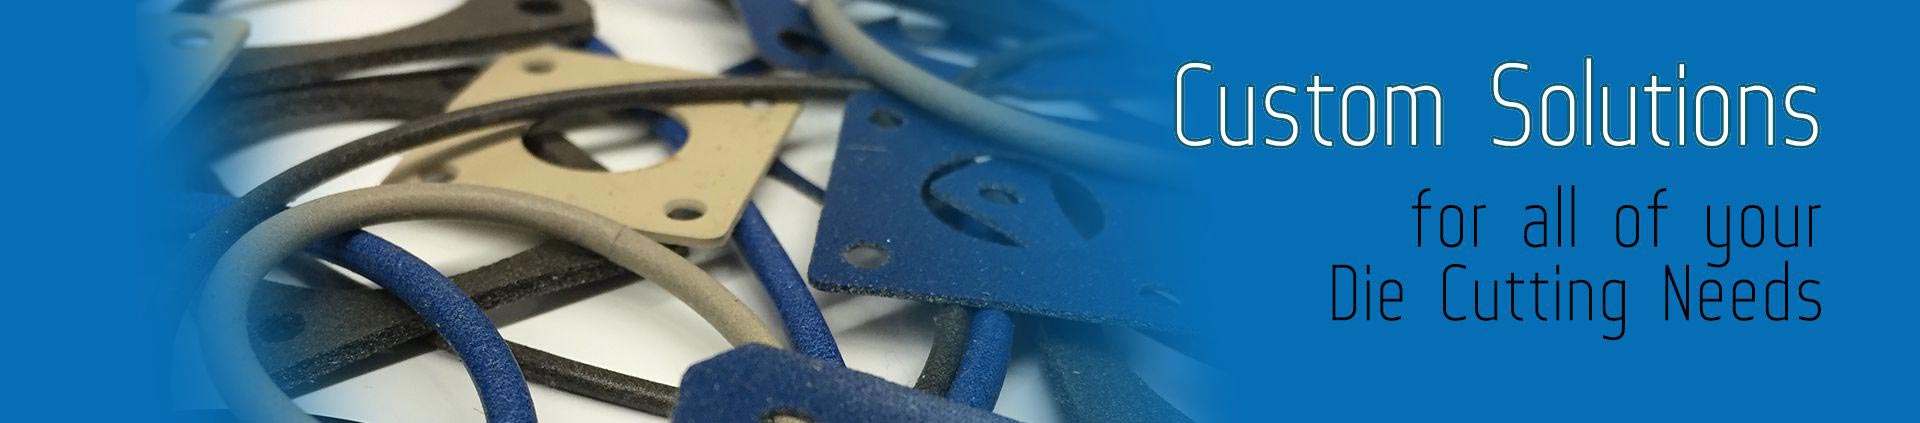


EMI Shielding Products
- Custom Gasket Fabrication
- Connector Gaskets
- Bonded O Ring
- Custom Gaskets
- Conduct-O-Knit Knitted Wire Mesh
- Conduct-O-Seal Combo Gasket
- Conduct-O-Elastomer
- Conduct-O-Seal Oriented Wire in Silicone Gasket Material
- Conduct-O-Mesh Tape
- Conduct-O-Foam
- Conduct-O-Bond
- Optical Filters For Electronic Displays
- Shielded Vent Panels
- ESC Board Level Shielding
- 300 Series
How Can I Quickly Check Whether an EMI Gasket Will Work in Real Life?
 Many people have experienced the frustration of installing an EMI gasket—only to discover later that it provides nowhere near the level of protection expected in real-world use. The mismatch between lofty datasheet numbers and day-to-day performance can spark confusion and disrupt production timelines. It's unsettling when a confident design, verified on paper, falters when stray electromagnetic waves slip through vulnerable seams and cause unwanted interference. This gap between lab-tested metrics and actual device stability can feel overwhelming, especially when there's no easy or obvious next step to confirm the gasket's true capabilities.
The desire for a quick, reliable way to gauge the real-life performance of an EMI gasket is natural. Engineers and technicians need straightforward methods that don't involve building out expensive facilities or spending weeks on elaborate tests. When project deadlines loom, it becomes crucial to trust that the gasket won't fall short during final integration. Focusing on a simple, standardized approach that draws on practical measurement data can offer significant peace of mind in this setting.
Why Do Lab Results Often Differ from Daily Use?
Standardized tests for EMI gaskets typically measure shielding, such as the gasket covering a pristine, perfectly rectangular opening. Hardware enclosures have many variables: slot lengths, odd shapes, imperfect mounting pressure, and even orientation relative to incoming waves. These details affect how electromagnetic energy slips through the enclosure's joints. A gasket that performs well in a tightly controlled setting might see its effectiveness slip when inserted into a curved slot or mismatched seam.
Rather than if standardized values alone predict success, it helps to recognize which factors genuinely matter. Slot dimensions, angles, and material characteristics all change the gasket's impact. A two-step process—first retrieving the gasket's shielding effectiveness from standardized data, then adjusting for the geometric realities of your specific project—goes a long way in reconciling design expectations with what happens in actual devices.
What Simple Steps Can Help Predict Performance More Accurately?
A direct path to an early reality check involves measuring the total area (or effective perimeter) of each opening that the gasket will seal and mapping that back to the gasket's standard shielding data. Even if all you have is the manufacturer's published shielding effectiveness, it's still possible to approximate how well the gasket's conductive material will behave once installed.
Under the hood, a straightforward formula connects the gasket's published numbers (originally measured against a larger, open window) to the narrower slots in your design. This formula, which involves adjusting the shielding effectiveness based on the ratio of the slot area to the reference area, provides a more accurate prediction of the gasket's performance in your specific application. Substituting your slot's dimensions into that formula re-scales the likely effectiveness in dB. This puts you ahead of simple guesswork because you're moving from general specs to geometry-based predictions.
Setting up a small, shielded test enclosure is also a practical way to double-check these calculations. By placing your gasket in a representative slot on a modest "test box" and measuring how much signal seeps through with and without the gasket, you can confirm within minutes whether the predicted results match reality. The best part is that it doesn't require a full-blown anechoic chamber—just careful attention to positioning your antennas and ensuring the rest of the enclosure is well reinforced so that nearly all electromagnetic energy is forced through your gasketed slot.
How to Avoid Surprises Later On
You can confidently proceed once you confirm that the datasheet values and quick measurements align. It becomes easier to choose a particular gasket type—like wire mesh or conductive foam—knowing your best guess for real-world performance is rooted in both standardized data and a personalized check. And if there's a discrepancy, a small tweak in the slot geometry or compression force might make a bigger difference than switching to a different gasket altogether.
This adaptability prevents costly headaches during final assembly. When designers know precisely how a gasket reacts in a near-real scenario, they can simplify the path to compliance testing and reduce the risk of needing last-minute changes. From purchasing to production, the entire supply chain also breathes easier because everyone understands the gasket's practical behavior.
Ready to Lock in Reliable Gasket Protection?
Early on, a little foresight can save untold hours of frustration. Handling standardized shielding effectiveness data, adding simple geometry measurements of your slots, confirming these numbers with a quick local test, and deciding whether a chosen gasket can handle day-to-day electromagnetic threats becomes much more manageable. If that knowledge offers even one avoided redesign or product hold-up, the time spent on a quick real-life check often pays for itself.